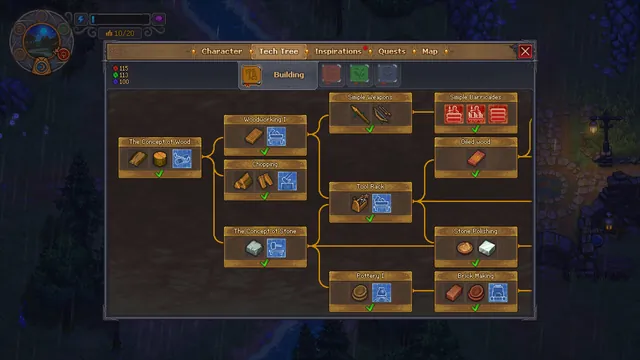
Graveyard Keeper 2 technology points: red, green and blue
Red for hands and materials, green for nature, blue for the spiritual side. Where each colour comes from, why blue runs out first, and what a question-mark node really means.
The short answer
Technology points come in three colours that never share a pool. Red comes from working materials: mining, stone, junk, crafting at benches, burials. Green comes from nature: trees, bushes and crops. Blue is the scarce one: autopsies, picking corpse pockets and studying items at the Study Table. Each colour caps at 999. A question-mark node needs a condition, not more points.
 VIEW IMAGE ↗
What to check, in order
- 01
Open the tree and find the exact node that blocks you.
- 02
Check every node it hangs from; all of them must be bought first.
- 03
Note which colour you are short of.
- 04
Do the work that pays that colour, or study an item that pays it.
- 05
Collect orbs from benches by taking their output, and sweep the rest by sleeping.
- 06
For a portrait or question-mark node, chase the reputation or story condition instead.
Which technology gate is blocking you?
- 01
Prerequisite
A connected earlier node
- 02
Point colors
Red, green or blue cost
- 03
Reputation
A portrait requirement
- 04
Hidden node
A story or reveal condition
Field Guide schematic · read alongside the checklist. Not an in-game screen.
Three colours, three kinds of work
Red points stand for skill with your hands and materials. Green points are knowledge of nature. Blue points are spiritual knowledge, and the game is stingy with them. Because the pools are separate, a pile of red does nothing for a node that costs blue. The trick is to look at what is blocking you and change what you do that day.
Points drop as coloured orbs. They stay on the ground until you pick them up, and sleeping sweeps every orb in the world into your total. Benches that run on their own hold on to their points until you collect the finished item.
| Activity | Colours | Typical amount |
|---|---|---|
| Chopping trees, clearing bushes | Mostly green | 1 to 2 per tree or bush |
| Mining rock, smashing junk | Red | Varies by node |
| Harvesting crops | Green | 2 to 12 per bed |
| Finishing a bench job | Red, sometimes blue | 1 to 10 |
| Autopsy, per organ | Red and blue | 1 red + 1 to 3 blue |
| Picking a pocket | Blue | 1 each, never fails |
| Digging or filling a grave | Red | 2 each |
| Studying an item | Any, fixed per item | 10 to 150, once per item |
| Techbooks | One colour | 25 or 50 |
Why blue runs out first
Early on, almost all blue comes from bodies. Each pocket you pick at the Autopsy Table gives exactly one blue point, needs no mastery and cannot fail. Organ removal gives more. So the single best blue habit is: never bury a body without emptying its pockets first. Once it is in the ground, that blue is gone.
Later, the Study Table takes over. A study can pay 20 or 30 blue in one go; a brain alone pays 30. Cremation also gives 2 blue per body, which makes it a decent option for bodies that would make poor graves anyway. Across the whole tree, 124 technologies have blue in their price, so this never fully goes away.
Field note: Pieces of Stone give 3 red per craft, against 1 for a Board. If red is your bottleneck, a stonemasonry session beats sawing logs.
Reading the tree
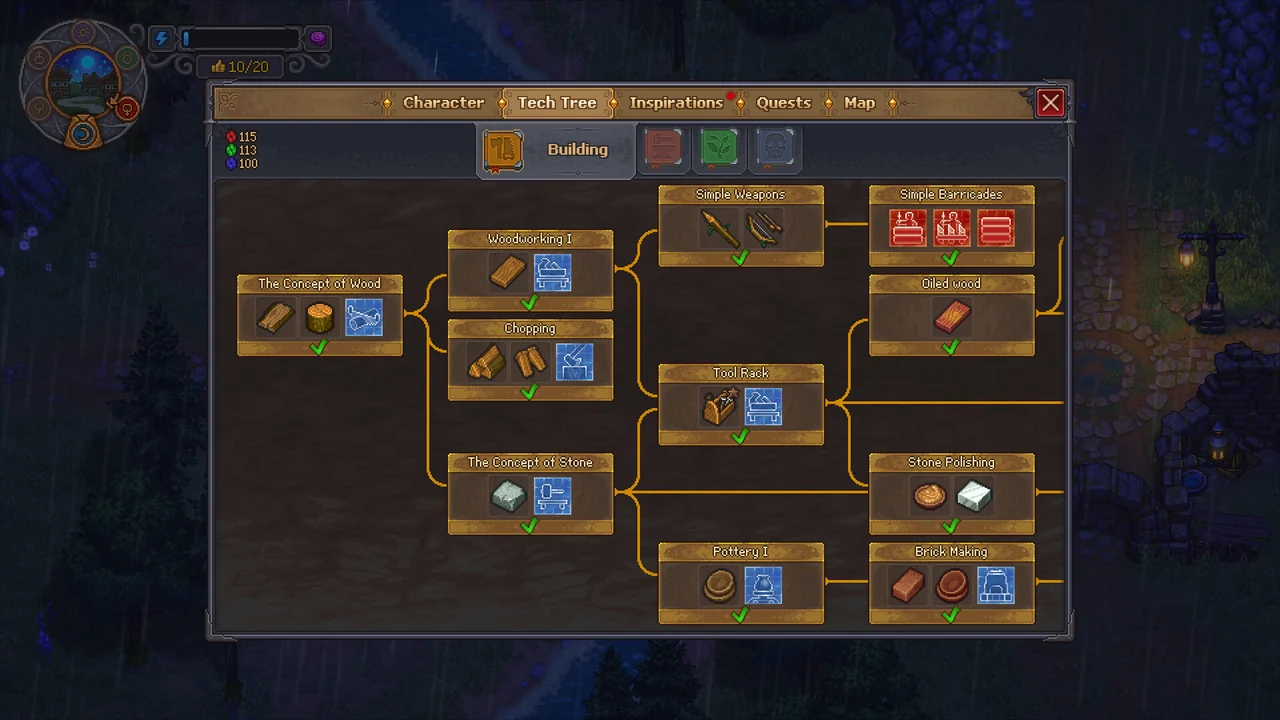
The tree has six tabs: Building, Metallurgy, Farming, Theology, Anatomy and Cooking. Building, Metallurgy and Farming are open from the start, and The Concept of Wood is free. Anatomy opens the first time you use the Autopsy Table, and Theology when you meet the Nun.
Cooking works differently. You never buy cooking techs; they are granted by events, such as harvesting a new crop for the first time or eating something unusual. Grinding points will not reveal them.
To buy a node you need every node it hangs from. A visible node you cannot afford is a points problem. A node shown as a question mark is a different thing entirely: there are 37 hidden nodes, each with its own condition, usually story progress or building something first.
Portrait nodes and reputation
Some nodes in the tree carry a character’s portrait instead of a price. They cost no points and unlock automatically once your reputation with that character is high enough, but only when you open the tech tree. If you just passed a reputation threshold, open the tree to trigger the check.
The Circular Saw, for example, is gated behind Jack’s reputation of 40, which is also when the factory opens.
| Character | Reputation thresholds |
|---|---|
| Herbert | 20, 55, 60 |
| Jack | 40, 50, 70 |
| Agatha | 25 (opens at 30), 30, 50 |
| Gunter | 20 (both early nodes), 45, 50 |
| Albert | 10 |
How much the tree costs
There are 236 technologies, 226 of them purchasable. Buying everything costs about 11,157 red, 5,129 green and 4,132 blue. You do not need anywhere near that to finish the story: the main quest line needs roughly 288 red and 65 green and no blue at all. Most of the tree is optional depth.
The cheapest early nodes are worth knowing: Bronze Works and Gardening at 5 each, Chopping at 8, Woodworking I at 10 and The Concept of Stone at 15. The Bronze Detail path, Bronze Works to Melting to Bronze Craft, adds up to 45 red.
A day for each colour
When one colour blocks you, plan a day around it. Short of red: break rocks and junk piles near the base, craft a batch of Pieces of Stone, and bury the day’s body, which pays 2 red for digging and 2 more for filling. Short of green: sweep the berry bushes on a loop around the village, which also gives you pie ingredients, and harvest every ripe bed.
Short of blue: that is a morgue day. Empty every pocket on every body, take out the organs you can remove cleanly, and study one new item at the Study Table. A good blue day with two bodies and a study can bank thirty or forty points, more than a week of anything else early on.
Keep an eye on what the next quest needs. Spending a day on the colour your current goal asks for is almost always better than a balanced day that leaves you a few points short of everything.
Don’t waste points
Each colour caps at 999, and anything above that is thrown away. If one colour is sitting near the cap, spend it before a big harvest or study session, even on something minor. Failed dishes still pay their points, so a bad cooking session is not a total loss.
Zombies change the maths. A zombie running a bench earns technology points for itself, not for you. That is good for the zombie’s talent tree and means your own red income drops as you automate. Keep a little manual crafting in your routine, or rely on studies, so your own tree keeps moving.
Common questions
Are Science and blue points interchangeable?+
No. Science is spent at the Study Table; technology points are spent in the tree.
What is the fastest source of blue points?+
Early on, picking every corpse pocket (1 blue each). Later, studying organs and other items at the Study Table.
Why can I not buy a node I can afford?+
One of the nodes it hangs from is not bought yet, or it is a portrait node waiting on reputation.
What does a question-mark node need?+
A specific condition, usually story progress or building something first. Points alone will not reveal it.
Is there a cap on points?+
Yes, 999 per colour. Extra points are lost.
Do zombies give me technology points?+
No. Benches run by zombies pay the zombie, which spends them in its own talent tree.
Do I get points for failed work?+
Sometimes. Failed dishes still pay their technology points. Failed autopsies are not a total loss either: the Oops Surgeon inspiration counts them toward talent experience.
Sources & further reading
Recipes, costs and timings were cross-checked against the references below and the official patch notes. Numbers can shift with updates, so the in-game recipe window always has the final word.
- Community databaseGK2DB: technology
- Community databaseGK2DB: reputation (portrait gates)
- Community databaseGK2DB: graveyard (burial and cremation points)
- Guidegames.gg: tech points explained