Graveyard Keeper 2 combat: why a battle will not start
A battle stays locked until you have a sword and armor equipped, it is the right day, and your squads meet its defence power. How to clear each check, then hold the flags.
The short answer
To start a battle you need a sword and armor on your toolbar (a bow does not replace the sword), it has to be an allowed day, which is Sloth for most fights, and your squads and structures must meet the battle’s defence power. You win by holding every base flag when the last wave ends. Losing costs only the potions you drank.
 VIEW IMAGE ↗
What to check, in order
- 01
Equip a sword and armor on the toolbar; carry a bow too if you have one.
- 02
Check the battle’s allowed day; most are Sloth only.
- 03
Read its defence power and squad count at the guard post.
- 04
Build barricades and towers in the Barracks and hire mercenaries if you are short.
- 05
Place structures during setup; the clock is frozen while you are on the battlefield.
- 06
Hold every base flag until the final wave ends.
Before starting a battle
- 01
Sword & armor
Both on the toolbar
- 02
Allowed day
Check this specific battle
- 03
Defence power
Meet the entry threshold
- 04
Deploy structures
Use the setup phase
Field Guide schematic · read alongside the checklist. Not an in-game screen.
The three entry checks
A greyed-out battle is failing one of three checks, and the guard post tells you which if you read it carefully. First, equipment: armor and a sword must both be on your toolbar. A bow is great in the fight but does not count for entry. Second, the day: most battles only begin on Sloth. Third, defence power: your selected squads and structures must add up to the battle’s requirement.
Structures only need to exist in the Barracks to count toward defence power. You do not have to deploy them before the check passes.
| Check | What passes it |
|---|---|
| Equipment | A sword and armor on the toolbar |
| Day | Sloth for most battles; some sewer and story fights start any day |
| Defence power | Squad power plus structures meets the listed number |
| Squads | Enough squad slots for the battle (1 to 4) |
Battles and their requirements
Here are the story battles in roughly the order you meet them. The sewer brawls and the Sewerena run alongside the story, start on any day and pay Keys for Looters, which open loot chests elsewhere. No battle pays technology points.
| Battle | Day | Squads | Defence power |
|---|---|---|---|
| Break Through to the Port | Any | 1 | 12 |
| Eastern Districts: Active Scouting | Sloth | 1 | 12 |
| Eastern Districts Purge | Sloth | 2 | 20 |
| Market Square Purge | Sloth | 2 | 22 |
| Central Districts Purge: Part I | Sloth | 2 | 36 |
| Central Districts Purge: Part II | Sloth | 3 | 56 |
| Sewer Brawl I | Any | 1 | 8 |
| Sewer Brawl II | Any | 2 | 24 |
| Closing Western Floodgate | Sloth | 3 | 56 |
| Battle at the Lake | Sloth | 3 | 64 |
| Final Battle | Sloth | 4 | 144 |
Field note: Before the very first battle, Herbert gives you the red banner. From then until the end of the next Sloth, battles can start on any day.
Squads, zombies and mercenaries
Squad power is the sum of each fighter’s weapon and armor quality. Zombie squads fight with pikes or bows plus armor, never swords, and only copies of them enter the battle, so losing them costs you nothing. Squad slots come from Defender’s Emblems handed to the Battle Ram, up to four slots, and four battles award emblems.
Mercenaries fill a squad slot for a fee and always join once paid. One payment covers one victory. They start at power 8 and can be upgraded to 16 and 24 with Iron and then Steel Ingots.
| Win | Cost |
|---|---|
| 1st to 5th | 5, 7.5, 10, 15, 20 silver |
| 6th onward | 1 gold per battle |
| After inflation in the story | 3 bottles of 3-star Wine per battle |
Structures
Structures are built in the Barracks and placed during the setup phase. Barracks space is limited at first; Victory Banners expand it. Dismantling a structure refunds it fully, so experimenting is cheap. Sewer Brawls do not allow structures at all.
Each structure has three levels, and quality rises 2, 4, 6 with them, which counts toward defence power. Spiked Barricades hurt anything that hits them, and Archer Towers do real damage on their own.
| Structure | Health | Quality | Special |
|---|---|---|---|
| Barricade | 400 / 600 / 800 | 2 / 4 / 6 | Basic wall |
| Spiked Barricade | 250 / 450 / 600 | 2 / 4 / 6 | Reflects 3 / 5 / 7 damage |
| Fortified Barricade | 600 / 800 / 1000 | 2 / 4 / 6 | Extra durability |
| Archer Tower | 150 / 300 / 450 | 2 / 4 / 6 | Fires for 8 / 16 / 24 damage |
How damage works
Damage is the attacker’s damage minus the target’s armor, never below zero. No critical hits, no random rolls. Most enemy zombies hit for 4 to 7, a Barrel Zombie for 10, and Master Armor at 4 makes you immune to ordinary Wild Zombie hits. That is why every armor upgrade feels dramatic. The one thing armor does not stop is a Stinker’s death burst.
A sword swing costs 20 of your 100 stamina and an arrow costs 10, and bows hit much harder at each tier. The community line is fair: you need the sword to enter, but the bow wins fights. Fighter potions add 3 damage per level, the Berserk potion makes attacks cost no stamina, and the God’s fury sermon buff adds 2 to swords and 3 to bows.
- Sword damage by tier: 4, 5, 7, 10, 13.
- Bow damage by tier: 4, 8, 15, 22.
- Armor by tier: 0, 1, 2, 3, 4.
- Health resets to 100 after every battle.
Winning and losing
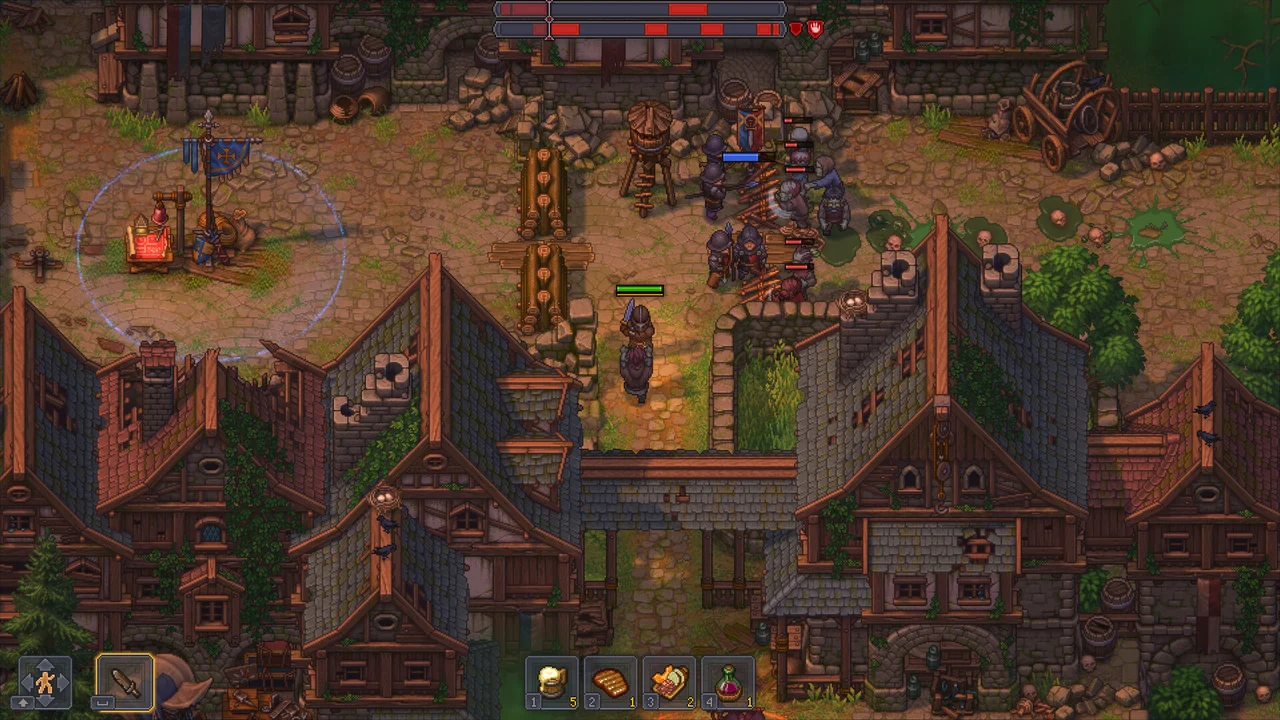
You win if every base flag is yours when the final wave ends; any enemies still standing collapse. You lose if a base falls or your health hits zero. The world clock freezes while you are on the battlefield, so take your time in setup, read the lanes, and put barricades where the pressure arrows point.
Losing is cheap. You keep your items and money and only lose the potions you used, so a failed attempt is mostly a scouting run. Wins pay Town Gratitude and Zombie Goo, sometimes Keys for Looters, and the key story battles hand out Defender’s Emblems or Victory Banners.
Preparing for Sloth
Treat the days before Sloth as prep time. Check your sword and armor, brew Healing Potions (just 2 red runes, so one Stone does it), add a structure if you are short on defence power, and pay a mercenary in advance. Then walk to the guard post on Sloth morning with nothing left to buy.
If you miss Sloth, the battle waits a week. Nothing is lost, but the town stays locked behind it, so it is usually worth planning the week around.
Common questions
Must I kill every enemy to win?+
No. You win by holding every base flag when the last wave ends. Remaining enemies collapse.
Why is the battle greyed out on Sloth?+
Check your toolbar for both a sword and armor, then compare your defence power with the battle’s requirement.
Does a bow count as my weapon for entry?+
No. A sword is required to enter. Bring the bow as well for the actual fighting.
What do I lose if I lose a battle?+
Only the potions you drank. Items and money are kept, and you can retry.
Do battles give technology points?+
No. They pay Town Gratitude, Zombie Goo and sometimes keys, emblems or banners.
Can zombies use swords in a squad?+
No. Zombie squads need a pike or bow plus armor.
Where do I get more squad slots?+
Hand Defender’s Emblems to the Battle Ram. Four battles award emblems, enough for all four slots.
Do Fighter potions boost my zombie squads?+
No. Fighter potions only raise your own damage, by 3 per level.
Sources & further reading
Recipes, costs and timings were cross-checked against the references below and the official patch notes. Numbers can shift with updates, so the in-game recipe window always has the final word.
- Community databaseGK2DB: combat
- Community databaseGK2DB: battles
- Community FAQWikily: which day are battles fought?
- GuidePower Up Gaming: zombies and combat tips
- OfficialOfficial developer post: Let’s talk Combat