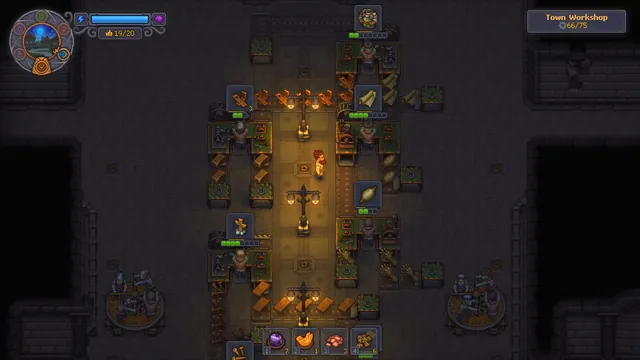
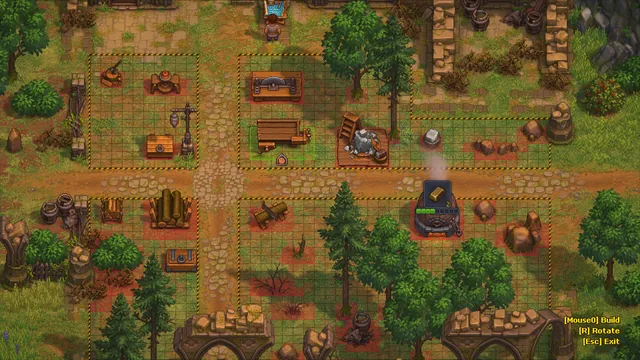
Graveyard Keeper 2 factory layout: fix the flow first
How to unlock the factory under your house, lay conveyors that actually move items, and build a line you can debug when it stops.
The short answer
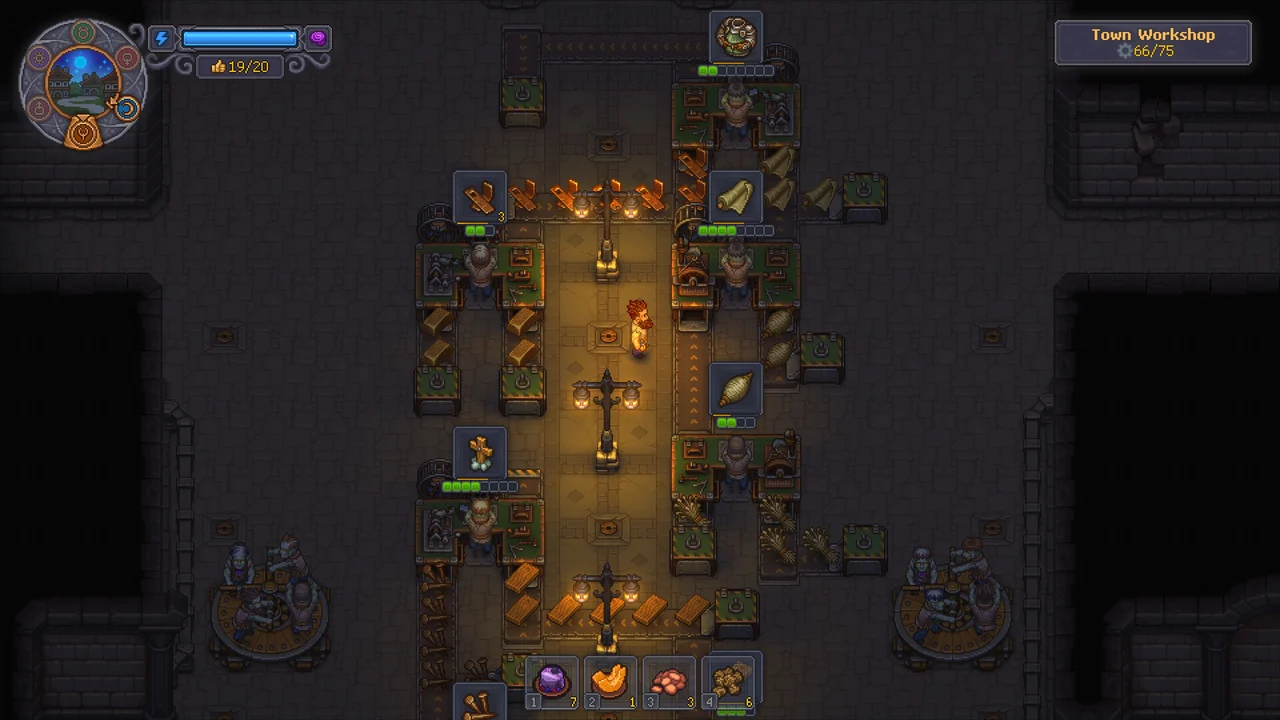
The factory under your house opens once Jack’s reputation reaches 40, after you win the Market Square Purge and reopen his workshop. Clear the rubble, craft the area, place the first station near the start of the line, and lay belts one at a time from each station’s output to the next station’s input. Give every station a zombie with the right tool and finish the line at a supply station with a porter.
 VIEW IMAGE ↗
What to check, in order
- 01
Raise Jack to 40 reputation through his workshop quests; that unlocks the factory and the Circular Saw technology.
- 02
Make Reinforced Beams for the underground blockages and clear the rubble on the build floor.
- 03
Craft the build area so the underlying mechanisms appear, then place your first station near where the line starts.
- 04
Lay one belt at a time and check the arrow on every tile: items move the way the arrows point.
- 05
Equip a zombie with the matching tool on every station.
- 06
End the line at a supply station with a porter, and send one item through before you scale up.
Build one working production loop
- 01
Input storage
A clear source
- 02
Supply connection
Check one route
- 03
Production bench
Queue one known recipe
- 04
Output collection
Confirm the complete loop
Field Guide schematic · read alongside the checklist. Not an in-game screen.
Unlocking the factory
The factory is tied to Jack. He needs 40 reputation before the space under your house becomes usable, and the same threshold gates the Circular Saw technology you need for beams. His reputation comes almost entirely from his own quest line, so you cannot grind it elsewhere.
The route runs through town. Workshop Hours asks for an iron supply crate on the warehouse pallets, which opens the Market Square Purge battle: Sloth only, two squads and a defence rating of 22. Winning clears the road to Jack’s workshop. Walk in for Jack’s Back in Business, then deliver 5 Building Kits I and 5 Wooden Kits I. Each step is worth 10 reputation.
| Quest step | Reputation | Notes |
|---|---|---|
| Bridge and dock quests | +10 | Earlier in the story |
| Supply: Iron (Workshop Hours) | +10 | Crate of 6 Iron Ingots, 4 Boards, 8 Bronze Nails |
| Enter the workshop (Jack’s Back in Business) | +10 | After the Market Square Purge |
| Deliver 5 Building Kits I and 5 Wooden Kits I | +10 | Both kinds must arrive |
Field note: Jack keeps climbing to 60 reputation, which is exactly what Gunter’s PR contract asks for later. You lose nothing by finishing his chain early.
Reaching the factory is not the same as using it
Plenty of players walk downstairs, see an empty floor and assume their build menu is bugged. Getting into the factory and being able to build conveyors are two separate steps in Jack’s chain. If the belt options are missing, check his quest log and the technology tree before you start moving furniture.
The floor itself needs work too. Underground blockages require Reinforced Beams, which come from Oiled Beams and Iron Details at an anvil. Rubble blocks movement and placement, so clear it fully, then craft the area to reveal the mechanisms under it.
How belts work
Every conveyor tile has an arrow, and items move in the direction it points. Belts run from one station’s output to the next station’s input. They do not connect station to station in the abstract, and a single tile facing the wrong way stops the whole line.
Each belt connection is placed individually. That sounds tedious, but it is also the easiest way to avoid mistakes: lay one tile, check the arrow, lay the next. When you reach the input of the next station, stop and look at the whole run from above before adding more.
- Wrong-facing belts are the single most common factory fault.
- A station with several inputs may need several belts arriving at it.
- Removing a placed building refunds about half its materials, so plan before you lay a long run.
A starter line you can debug
Start smaller than you think. A good first line is Smithy to assembly bench to supply station: ore and coal go in, ingots move along a belt, the bench turns them into the item an order wants, and the finished goods arrive at the supply station where a porter picks them up.
Prove each link before you add the next. Send one item through the first belt. If it arrives, connect the next station. If it stops, the fault is between the last success and the point where it stalled. That rule saves hours compared with building a ten-station line and wondering why nothing comes out.
| Stage | Station | Zombie needs |
|---|---|---|
| 1 | Smithy (iron from ore and coal) | Hammer |
| 2 | Assembly bench (fed by belt) | Tool matching the recipe |
| 3 | Supply station (finished goods) | Nothing; it is a drop point |
| 4 | Zombie supply porter | Moves boxes onward |
Supply boxes and town orders
The main job of the factory is filling town orders. Shops post them on the Town Warehouse chalk board, two per shop tier, and only on Pride. Orders are filled with supply boxes from the factory, and they are the main source of town happiness later in the game.
Supply stations only take large carried items such as boxes. Small things like a Wooden Kit I belong in a chest or in conveyor storage. If a porter refuses to pick something up, check whether it is a box or a loose item.
Staffing the line without wrecking your sermons
Every station needs its own zombie, and a modest line of four stations plus a porter already eats five workers. Your zombie limit is the Resurrection Lab’s quality, and every worker over that limit cuts your sermon payouts through the Excessive zombies debuff. Before you build a second line, check how many zombies you already have in the garden, the kitchen and the quarry.
Give each factory worker its tool before you carry it downstairs, and remember that factory recipes still check the worker’s own mastery. A Smithy zombie with a rusty hammer will stand at the bench for days. Iron tools on factory workers are usually worth the ingots.
If you are short on bodies, put zombies on the stations that are slowest by hand and do the quick jobs yourself until the next Envy.
When the line stops
Walk the line from the start. Find the last place an item moved successfully and look at the very next thing: a belt arrow, an empty input, a station without a zombie, or a zombie holding the wrong tool. Factory stations follow the same rules as any zombie bench, so uncollected output and missing mastery stop them too.
Nobody has published a proven best layout yet, and anyone who says otherwise is guessing. A small line you understand will out-produce a big one you cannot debug.
Common questions
Is there a universal best factory layout?+
No proven one yet. Build a short line you can watch, confirm every handoff, and extend it one station at a time.
Why can I enter the factory but not build conveyors?+
Access and conveyor unlocks are separate steps in Jack’s quest chain. Check his quest log and the tech tree.
How much reputation does Jack need?+
40 for the factory and Circular Saw. His chain continues to 60, which Gunter’s PR contract needs later.
What clears the underground blockages?+
Reinforced Beams, made from Oiled Beams and Iron Details at an anvil.
Why will the supply station not take my item?+
It only accepts large carried items such as supply boxes. Put small items in a chest or conveyor storage instead.
When are town orders available?+
On Pride. The first visit to the order board is the one exception and opens it until the end of the next Pride.
Sources & further reading
Recipes, costs and timings were cross-checked against the references below and the official patch notes. Numbers can shift with updates, so the in-game recipe window always has the final word.
- Community walkthroughGK2DB: walkthrough II (Jack’s workshop and the factory)
- Community databaseGK2DB: the town and orders
- Community databaseGK2DB: wood items (beams)
- GuideGraveyard Keeper 2 Hub: factory layout
- Community FAQWikily: zombies and conveyors