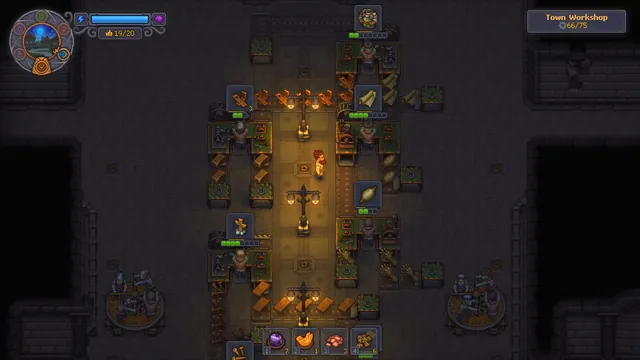
Graveyard Keeper 2 zombie talents: worker tech points
Each zombie has its own five-branch talent tree, earns its own points by working, and can only hold as many upgrades as its red skulls allow. Building a worker that lasts.
The short answer
Every zombie has its own talent tree with five branches, and it earns its own technology points by working, which you spend on its nodes. A zombie starts with no talents. How many nodes it can keep active depends on its red skulls, so a body with more red skulls makes a more capable worker. Removing organs later can switch recent nodes off without refunding them.
 VIEW IMAGE ↗
What to check, in order
- 01
Decide the zombie’s job before spending anything.
- 02
Inspect the zombie (F) and open its own talent tree, not your keeper’s.
- 03
Check its available points; the colour depends on the branch.
- 04
Buy the mastery steps in its job’s branch first, then the perks for that job.
- 05
Keep an eye on the red-skull limit before adding more nodes.
- 06
Avoid organ surgery on a trained zombie; it can deactivate its newest nodes.
Upgrade the worker you assigned
- 01
Worker’s points
Earned by its own work
- 02
Node prerequisite
Learn earlier nodes
- 03
Red-skull capacity
Check the active-node limit
- 04
Active upgrades
Recheck after organ changes
Field Guide schematic · read alongside the checklist. Not an in-game screen.
How zombie talents work
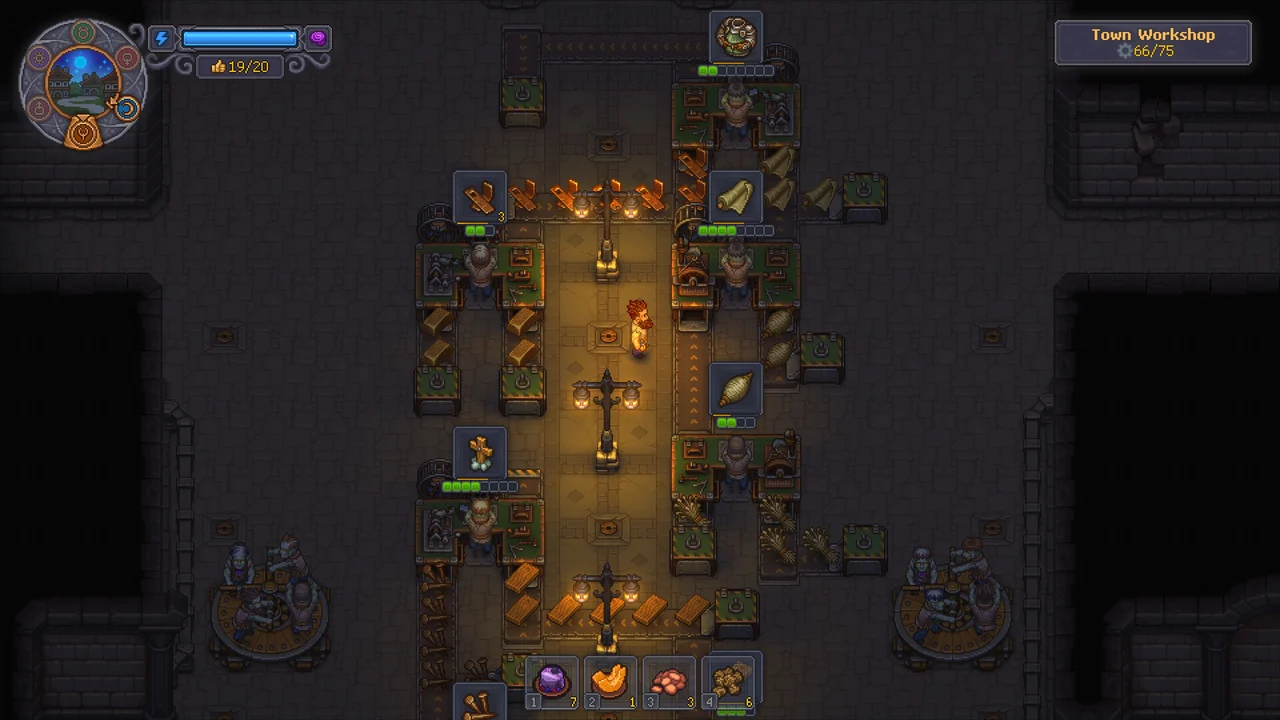
A zombie’s talents belong to that zombie. It earns technology points from its own work at a bench, and your keeper gets none of them. You open the zombie’s tree by inspecting it and spend its points there. A freshly raised zombie knows nothing, so its first few days of work are what pay for its first upgrades.
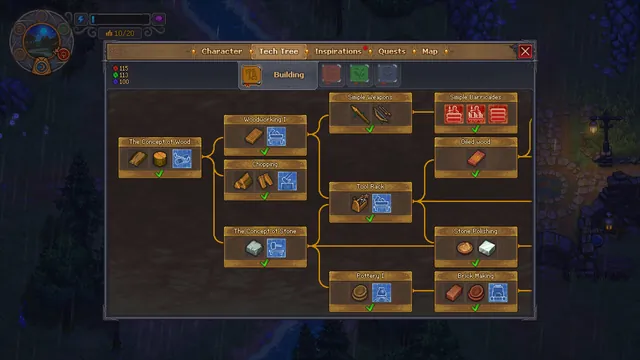
The tree has 85 nodes in five branches that mirror your own: Building, Smithing, Farming, Book writing and Anatomy. Each branch has a run of mastery steps plus job-specific perks. Prerequisites are mostly linear, so a perk deep in a branch needs the nodes above it first.
| Branch | Nodes | Point colour | Example perks |
|---|---|---|---|
| Building | 17 | Red | Logger, Quarryman, Excavator, Master Carpenter, Factory Operative |
| Smithing | 17 | Red | Zombie Miner, Novice Blacksmith, Master Blacksmith, Factory Operative |
| Farming | 17 | Green | Farmer I and II, Miller, Brewer, Winemaker, Fisherman |
| Book writing | 19 | Mostly blue, some red | Dead Printer, Ghostwriter, Musicians |
| Anatomy | 15 | Mostly blue, some red | Dead Alchemist, Zombie Alchemist, Grave Architect |
The red-skull limit
Red skulls are what make a corpse a good worker. They set how many talent nodes the zombie can have active. Sources describe the exact boundary slightly differently: one counts a slot per red skull, while the talent-tree reference says learned nodes must stay below the red-skull count, so five skulls allow four nodes. Your game’s active-node display shows the real number for each zombie.
Either way, the lesson is the same. Before you raise a body you want to train heavily, raise its red skulls. Solution for Zombies adds 1 to 3 red skulls depending on its stars, and a full set of red-improved organs can push a body to 18. Remember that the collar has to cover them: Bronze up to 5, Golden up to 10, Steel up to 99.
Field note: For workers, white skulls do nothing. Pick bodies by their red-skull count and leave pockets with Fat and Blood untouched, since emptying them lowers red.
Choosing nodes for a job
Give every zombie a purpose before you spend a point. A worker on the sawhorse wants Building mastery steps and Logger; a miner wants the Zombie Miner perk in Smithing; a gardener wants Farming steps and the Farmer perks. Spending a woodworker’s points on Anatomy does nothing for its bench.
Mastery steps come first because they unlock harder recipes at the same bench. Ordinary recipes refuse to start below the requirement, and zombies use only their own mastery. After that, perks that add output or speed for the zombie’s exact job are the best value. Costs run from about 10 to 500 points, so cheap early nodes come quickly and the deep perks take a while.
- Sawhorse or bench: Building mastery, Logger, Apprentice then Master Carpenter.
- Quarry: Building mastery, Quarryman, Novice then Master Stonemason.
- Mine: Smithing mastery, Zombie Miner.
- Garden: Farming mastery, Farmer I and II.
- Factory line: Factory Operative (in Building and Smithing).
Organ changes and lost nodes
If you take organs out of a trained zombie, its red skulls drop, and the most recently learned nodes become inactive until the skulls come back. There is no refund. That makes surgery on an experienced worker an expensive mistake.
If you want a stronger worker, it is usually better to raise a new, better body than to operate on an old one. Organ swaps also have to be perfect results; a single Surgeon’s Error on a body before it is raised ruins it as a zombie altogether.
Building a strong body before you raise it
Everything a zombie can become is decided on the Autopsy Table, before the resurrection. A first-tier body with 0 to 4 red skulls fits a Bronze collar and makes a perfectly good early worker with a handful of nodes. For a long-term specialist, aim higher.
There are two ways up. Solution for Zombies, made at the Formulation Bench, adds 1, 2 or 3 red skulls depending on its star grade, without any surgery. Red Improvers are the heavy option: an organ treated with one carries 3 red skulls, and a full set of six reaches 18 red. That needs a Steel collar, Anatomy 13 for the hardest insertions, and perfect results every time.
Most players do best with solutions. They are cheap, they cannot fail in a way that ruins the body, and two or three of them move an ordinary corpse into Golden-collar territory.
| Red skulls | Collar needed |
|---|---|
| 0 to 5 | Bronze |
| 6 to 10 | Golden |
| 11 and above | Steel |
Special cases: musicians and the church
Some zombie perks reach outside the workshop. The Musician line in Book writing, from Novice up to Master Musician, raises church quality, which feeds sermon attendance directly. If church quality is your bottleneck on Wrath, a zombie musician can be worth more than another bench worker.
Others are pure production. Dead Printer and Ghostwriter help with books and printing, and the Anatomy perks support alchemy and grave building, so a dedicated lab zombie is a real option once you have bodies to spare.
Planning a workforce
Every zombie you raise adds one to your zombie count forever, and going over the limit cuts sermon payouts. So a few well-built specialists beat a crowd of untrained bodies. Raise high-red bodies with the right collar, give each a job and a tool, and let them grind their own points.
Keep a simple note of who does what. With six or seven zombies spread over the garden, kitchen, quarry and factory, it is easy to forget which one you were training for which perk.
Common questions
Do zombies use my talent points?+
No. Each zombie earns and spends its own points in its own tree.
Will removing an organ refund talent spending?+
No. Recent nodes become inactive when red skulls fall, and nothing is refunded.
How many nodes can a zombie have?+
It depends on its red skulls. Check the active-node display on the zombie for the exact limit.
Do new zombies come with talents?+
No. A freshly raised zombie knows no talents and starts earning points once it works.
Which colour points does my zombie earn?+
It depends on the work. Building and Smithing nodes cost red, Farming green, and Book writing and Anatomy mostly blue.
What is Factory Operative for?+
It appears in both the Building and Smithing branches and is aimed at zombies working stations in the factory.
Sources & further reading
Recipes, costs and timings were cross-checked against the references below and the official patch notes. Numbers can shift with updates, so the in-game recipe window always has the final word.
- Community databaseGK2DB: zombie talent tree
- Community databaseGK2DB: zombies (skulls and talents)
- Community databaseGK2DB: corpses and organs (red improvers)
- Guidegames.gg: zombie progression and perks